
Making a painting or a portrait in Photoshop is not that easy task. It needs hard work, perfection and creativity too much. If you know the basics of the designing and photo processing software Photoshop, then you can do it without too much effort. There are some simple tips and tricks which can convert any picture into a semi virtual painting. All you need to do is perfection in operating a mouse. If you can't operate your pc mouse or laptop touch-pad easily, then you can buy a light pen (digital pen) from any computer store or from online shopping websites.
Here is a step by step guide with pictures that'll show you the exact idea of making a painting or portrait via an original picture.
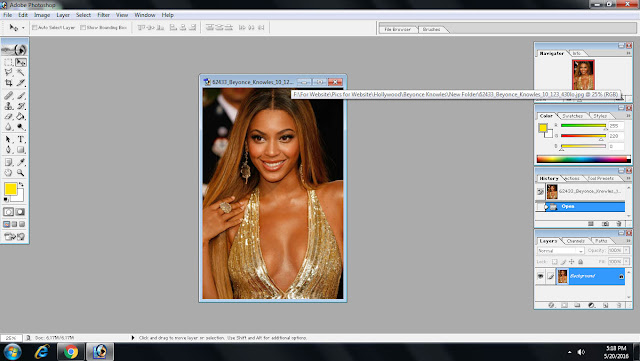
#1 First of all you need to open photoshop and open any picture you want to turn into painting or portrait.


Here is a step by step guide with pictures that'll show you the exact idea of making a painting or portrait via an original picture.
#1 First of all you need to open photoshop and open any picture you want to turn into painting or portrait.

#2 After that, you need to open a new layer without any colour or background. Just keep this layer above.

#3 After it, you need to select picture layer and decrease it's opacity upto 50%.

#4 Now select the blank layer and pick brush tool with black or any dark colour you want to use in outlines of your picture. Start drawing lines following picture. Take a look at the sample picture below to know the idea.

#5 After a hard work of outlining and giving shades to the object. Make it "Flatten Image". The Rest would be look like the picture below. You need to use you extra creativity and tact for making picture more like painting.

It would be "The Comic Art like Portrait" somehow.

Watch the complete tutorial video below


